Our staff will contact you within 12 hours, You can also contact us through the following ways:
Contact US WhatsApp: +86 18263873187
- Email: [email protected]
- Tel: +86 18263873187
- Web: www.lifting-chain.com
Tight schedules and mixed sites demand a clear, repeatable method. A 13mm lifting chain gives you real capacity with manageable weight, yet results only stay reliable when you plan the geometry, confirm the interfaces, and record the checks. This guide shows how to apply angle factors, verify hook fit, protect edges, and decide withdrawals with measurements, not hunches. You will size from the manufacturer’s WLL table, match components by grade, and run a short field workflow that your crew can follow on every shift.


Click to view more products ↑
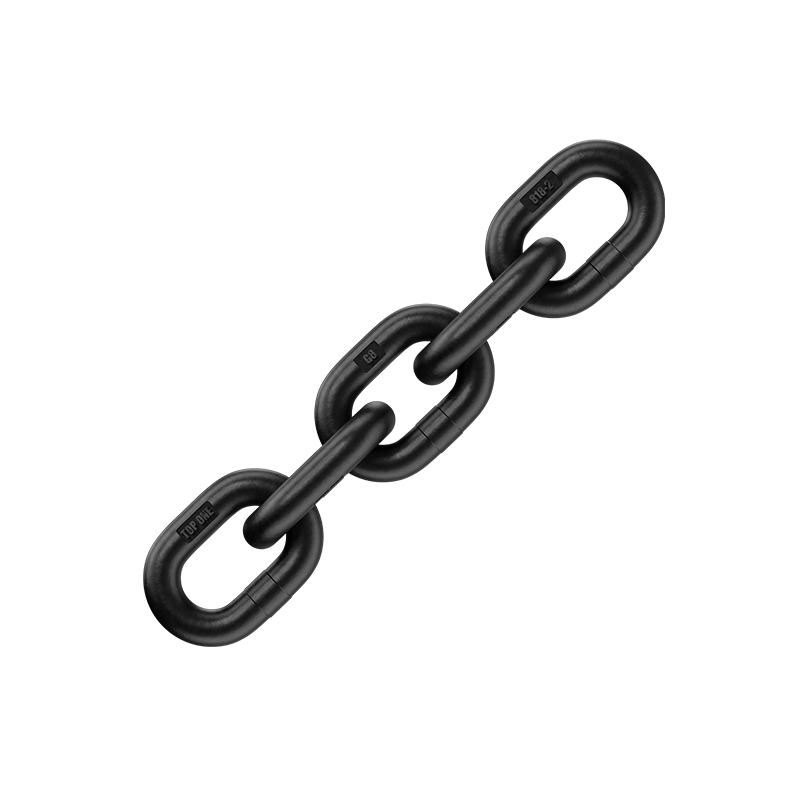
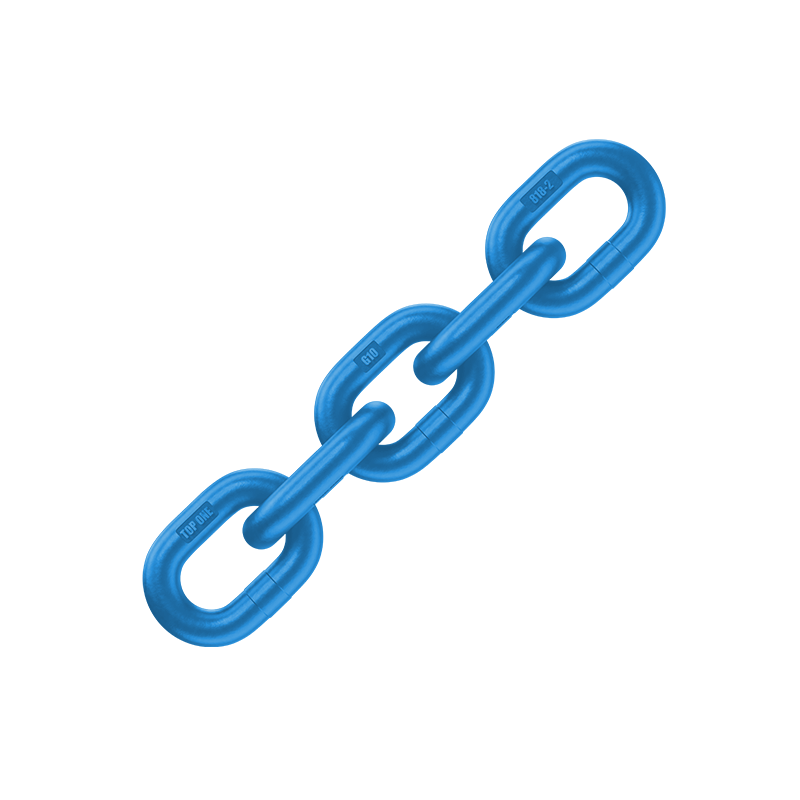
Read the chain tag first. Confirm grade (e.g., G80 or G100), diameter = 13 mm, reach, and trace code. Match master link, shorteners, and hooks to the same grade so the assembly behaves as one system. Keep unused legs back-hooked to the master link. Never knot or twist chain to shorten a leg; use a rated shortening device.
Define the heaviest routine load (ignore one-off peaks). Sketch lift points and set the angle to vertical (β) between 15° and 60°. Multiply the load by the correct factor, then open the maker’s WLL table for 13mm lifting chain and pick the first diameter that exceeds the result. Leave ≈10% hook-throat clearance at the load point. If headroom runs tight, consider a higher grade at the same diameter; if clearance runs tight, change the hook style or add a sub-assembly.
Angle & Mode Factors (apply before reading WLL)
Configuration | Angle to Vertical (β) | Factor (×) | Notes |
Single-leg vertical | 0° | 1.0 | Cleanest geometry |
Two-leg bridle | 0°–45° | 1.4 | Default band |
Two-leg bridle | 45°–60° | see table | Capacity drops—verify |
Three/Four-leg | 0°–45° | 2.1 | Balance legs |
Three/Four-leg | 45°–60° | 1.5–1.6 | Confirm on tag |
Choker hitch | — | 0.8 | Reduce 20% |
Always size from your manufacturer’s table for the exact chain and hardware.
Single-leg vertical. Connect directly under a centered pad-eye. Keep the line of pull straight; avoid side-load.
Two-leg bridle. Pick frames, skids, and plates with stability; equalize leg lengths with shorteners, not twists.
Four-leg bridle. Add stability on tall or asymmetric loads; plan β in the lower half of the band for margin.
Choker. Control slippery shapes; apply the choker factor and add edge protection under the choke.
Work interfaces before you lift steel.
Hook & bowl: seat fully and keep ~10% clearance at the load point; never tip-load.
Pad-eye & shackle: gauge the pin; check free passage without bind.
Pockets, wheels, or slots: test pass-through both directions; remove burrs.
Latch action: verify self-locking hooks close and hold under tension.
ID present: photograph tags at staging and file them with the lift pack.
Edges bite link crowns and concentrate stress. Add pads or spreaders wherever chain meets corners. When you cannot increase radius RR, apply simple, documented rules:
R ≥ 2d (d = link diameter) → use the table value.
R ≈ d → multiply capacity by 0.7.
Sharp edge → multiply by 0.5 or change the rig.
Write the assumption in the plan so supervisors and auditors can verify it quickly.
Operate within the published temperature envelope for your grade (full rating in the normal band, progressive derates at elevated ranges). Keep chain clear of acids, alkalis, and pickling lines. If contamination occurs, rinse with cold water, dry completely, and send the assembly for a competent inspection before reuse. Coatings change fit and pitch; test through tight pockets after any finish work.
Check before use; schedule thorough examinations on a fixed cadence. Remove the sling from service when you see:
Wear: average link diameter reduction around 10% from nominal.
Stretch: five-link pitch growth around 3%.
Hook change: throat opening growth >10% over nominal.
Defects: cracks, deep nicks, heat tint, stiff articulation.
ID loss: missing or unreadable tags/embossing.
Log date, inspector, measurements, and actions. Clean and hang slings in a dry room; rinse and dry stainless assemblies after brine or cleaners.
Step | What You Do | Why It Matters |
Plan | Write heaviest routine load; sketch lift points | Locks scope and geometry |
Angle | Set β = 15°–60°; choose hitch type | Controls per-leg tension |
Size | Apply factor; read the WLL table; pick the first size that clears | Removes guesswork |
Fit | Check hook throat, pad-eye, pass-through, latch | Stops re-rig delays |
Protect | Add pads or spreaders; record any radius reduction | Preserves capacity |
Prove | Trial-lift a few cm; watch leg balance; adjust | Confirms real behavior |
Record | Wipe, inspect, and log tags and measurements | Speeds audits and repeats |
Change the plan if the factored load crowds the table, the hook bowl runs tight, edges stay sharp after mitigation, or the job needs wide spreads near 60°. Step up diameter or move to a higher grade at 13 mm if headroom, weight, or hardware dictates. Update the lift pack so the next shift starts with the same assumptions.
Use this method to rig a 13mm lifting chain with clean geometry, verified interfaces, and clear records—then contact TOPONE CHAIN for a traceable configuration that matches your drawings and schedule.