Our staff will contact you within 12 hours, You can also contact us through the following ways:
Contact US WhatsApp: +86 18263873187
- Email: [email protected]
- Tel: +86 18263873187
- Web: www.lifting-chain.com
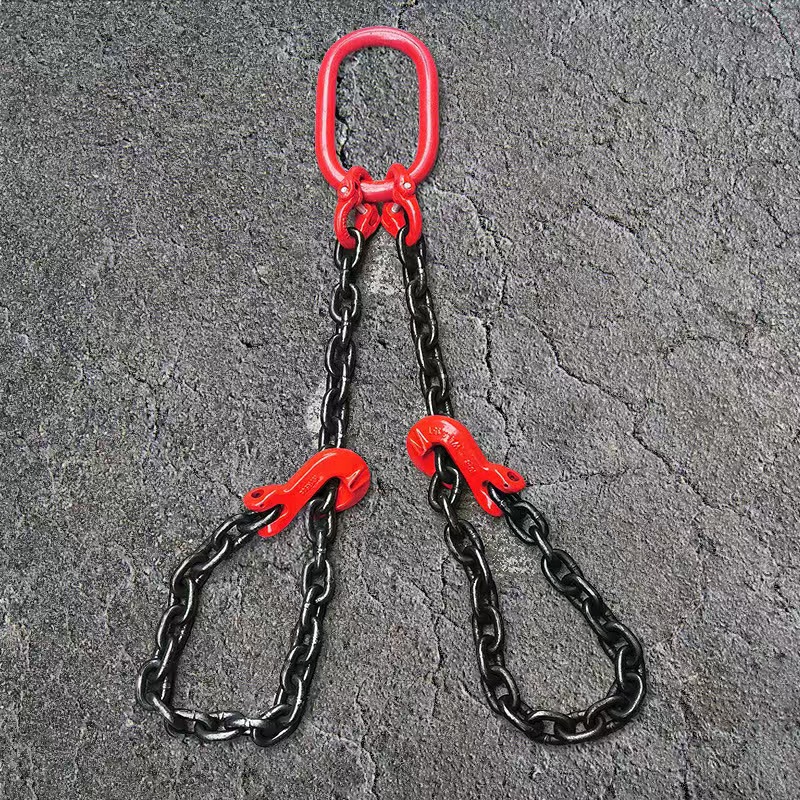
Tight deadlines demand rigging that sets fast yet stays verifiable. A 2 leg adjustable chain sling gives you that blend because you tune length with built-in shorteners, you control angles on the hook, and you still read capacity from a traceable table. This guide walks you through selection that crews can copy: define the lift, lock the angle band, pick grade and diameter from the WLL chart, confirm hardware fit, and record the checks. You reduce re-rigs, you cut handling time, and you raise consistency across shifts.
You balance stability and speed. Two legs share load while shortening devices trim reach for equal tension. You handle skids, frames, plate bundles, and small modules, and you keep geometry tidy without knots or twists. You still match grade across chain, master link, connectors, and hooks, and you still size from the manufacturer’s Working Load Limit (WLL) table for your exact product.
Write the heaviest routine load and sketch lift points with a center of gravity mark. Note headroom, hook size, pad-eyes, and any pass-throughs. Decide whether the job needs self-locking hooks (busy walkways) or foundry hooks (wide trunnions). This drawing drives every later choice.
Open the maker’s WLL chart for your sling family (e.g., Grade 80 or Grade 100). Multiply the load by the angle factor (see below), then select the first diameter whose WLL clears the number. Do not estimate capacity; read the table printed for your model. Keep components grade-matched from master link to hooks so the assembly behaves as a single system.
Plan the angle to vertical (β) between 15° and 60°. Target the lower half when headroom allows because leg tension climbs as β opens. Use shortening clutches or grab shorteners to equalize; never knot or twist chain to lose length. Back-hook any idle hardware to the master link to prevent snags during travel.
Angle / Mode Quick-Ref
Configuration | Angle to Vertical (β) | Factor (×) | Notes |
Single-leg vertical | 0° | 1.0 | Reference |
Two-leg balanced | 0°–45° | 1.4 | Default band |
Two-leg wide | 45°–60° | see table | Capacity drops—verify |
Choker (either leg) | — | 0.8 | Reduce 20% |
Always use the specific WLL table for your sling series.
Measure hook throat at the load point and leave about 10% clearance. Seat hooks in the bowl; avoid tip-loading. Gauge pad-eye pins and shackle sizes; confirm free passage without binding. If you run chain through pockets or wheels, test both directions and remove burrs that raise local stress. Check latch action on self-locking hooks; sticky latches need service, not hope.
Add corner pads or softeners anywhere links touch edges. When you cannot increase edge radius RR, apply simple, documented reductions:
R≥2dR \ge 2d (link diameter dd) → use table value.
R≈dR \approx d → multiply capacity by 0.7.
Sharp edge → multiply by 0.5 or change the rig.
Record the assumption on the lift sketch so supervisors can verify it in seconds.
Follow the published temperature envelope for your grade (run at full rating in the normal band; derate in elevated ranges). Keep slings away from acids, alkalis, and pickling lines. If contamination occurs, rinse with cold water, dry completely, and send the assembly for a competent inspection before reuse. Coatings and galvanizing add thickness; test fit through tight throats and pockets after any finish work.
Use a short checklist that every crew member understands and follows.
Step | What You Do | Why It Helps |
Load & COG | Write load, sketch lift points | Locks the plan |
Angle plan | Set β = 15°–60° | Controls leg tension |
Table pick | Apply factor; pick first WLL that clears | Removes guesswork |
Fit check | Throat, pins, pockets, latches | Prevents re-rigs |
Equalize | Use shorteners; no knots | Shares load cleanly |
Protect | Pads or spreaders at edges | Saves capacity and links |
Prove | Trial-lift a few cm; watch tension | Confirms real behavior |
Record | Photo tags; log IDs and results | Speeds audits and repeats |
Guessing capacity. Always open the WLL table; never size “by feel.”
Forgetting hook clearance. Measure, then leave room for seating and movement.
Running wide angles. If β pushes 60°, add a spreader or change geometry.
Skipping edge protection. Pads cost minutes; link damage costs projects.
Mixing grades. Keep chain, connectors, and hooks in the same grade family.
Ignoring latch action. Verify self-locking hooks snap shut under load; replace sticky units.
Check before each use and schedule thorough examinations on a fixed cadence. Retire a sling when you see any of these triggers:
Average link diameter reduction around 10% from nominal.
Five-link pitch growth around 3%.
Hook throat opening growth >10% over nominal.
Cracks, deep nicks, heat tint, or stiff articulation.
Missing or unreadable tags or embossing.
Log date, inspector, measurements, and actions. Store clean and dry on racks; rinse and dry stainless assemblies after brine or cleaners.
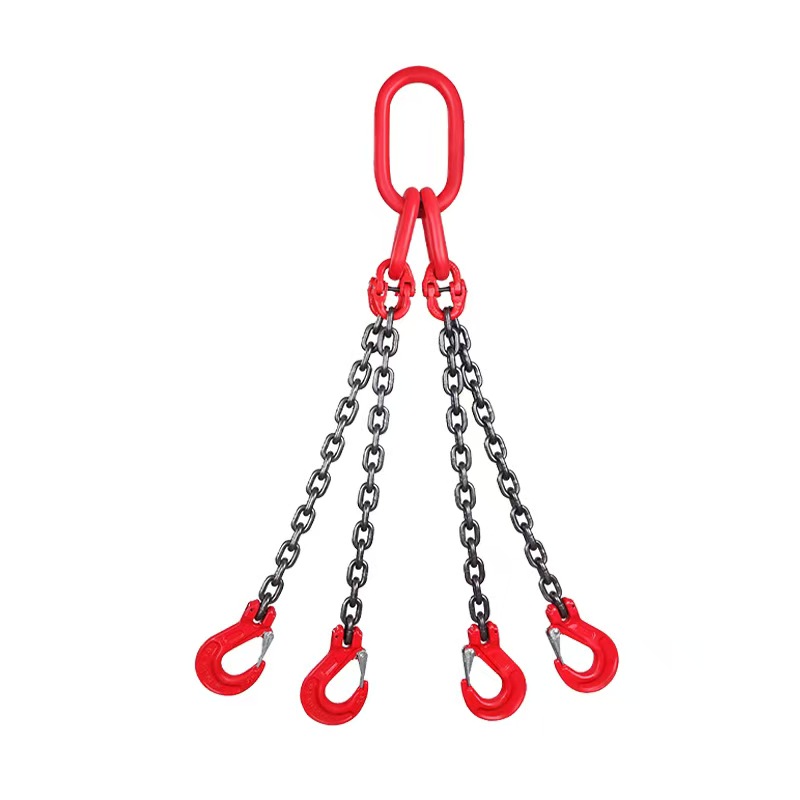
Switch to a four-leg bridle for tall frames or complex centers of gravity that need more stability. Move to G100 at the same diameter when headroom runs tight yet the WLL margin feels thin. Choose a single-leg for clean vertical picks under a centered pad-eye. Redesign the interface rather than force side-loading or tip-loading.
Follow this method to size, equalize, and document a 2 leg adjustable chain sling with clean geometry and traceable records—then contact TOPONE CHAIN for a configuration that matches your drawings and schedule.

