Our staff will contact you within 12 hours, You can also contact us through the following ways:
Contact US WhatsApp: +86 18263873187
- Email: [email protected]
- Tel: +86 18263873187
- Web: www.lifting-chain.com
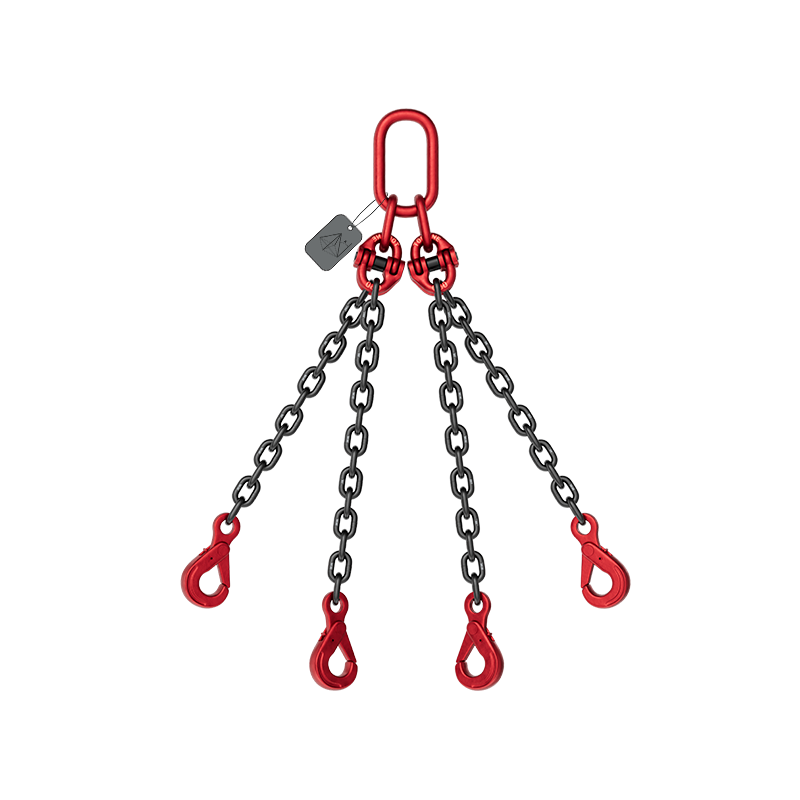
Tight catwalks, mezzanines, and equipment pits limit headroom, yet crews still need predictable lifts. A 1 4 lifting chain helps because it trims rig weight, fits compact hooks, and threads through crowded layouts. This guide takes a fresh angle: instead of broad selection math, you will learn how to assemble a compact micro-rigging kit, how to control geometry in cramped spaces, and how to document each lift so inspections move quickly. You will also see interface checks that prevent re-rigs and a short procedure you can copy into work packs.


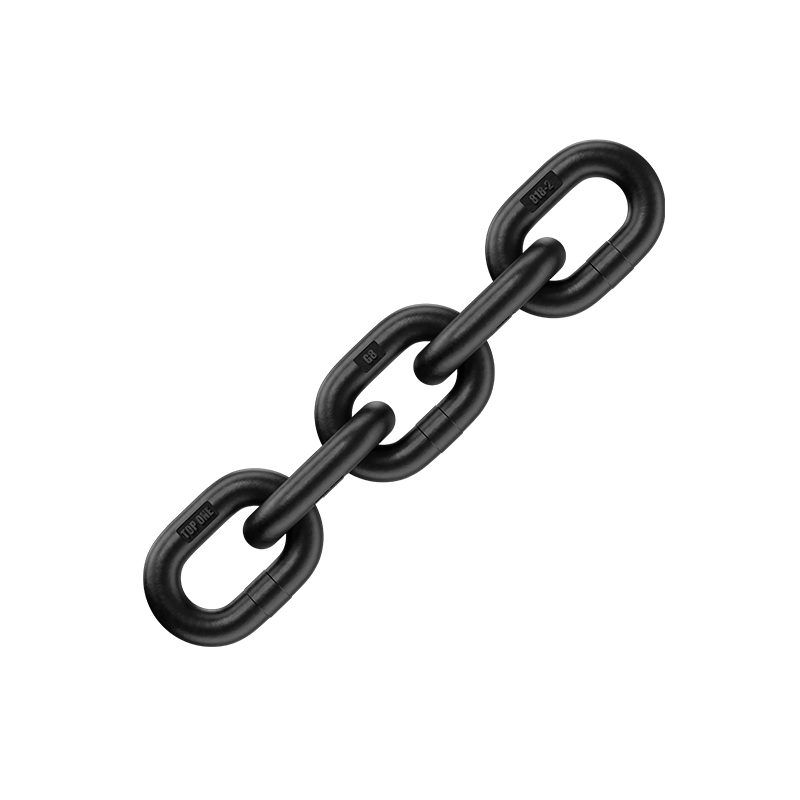
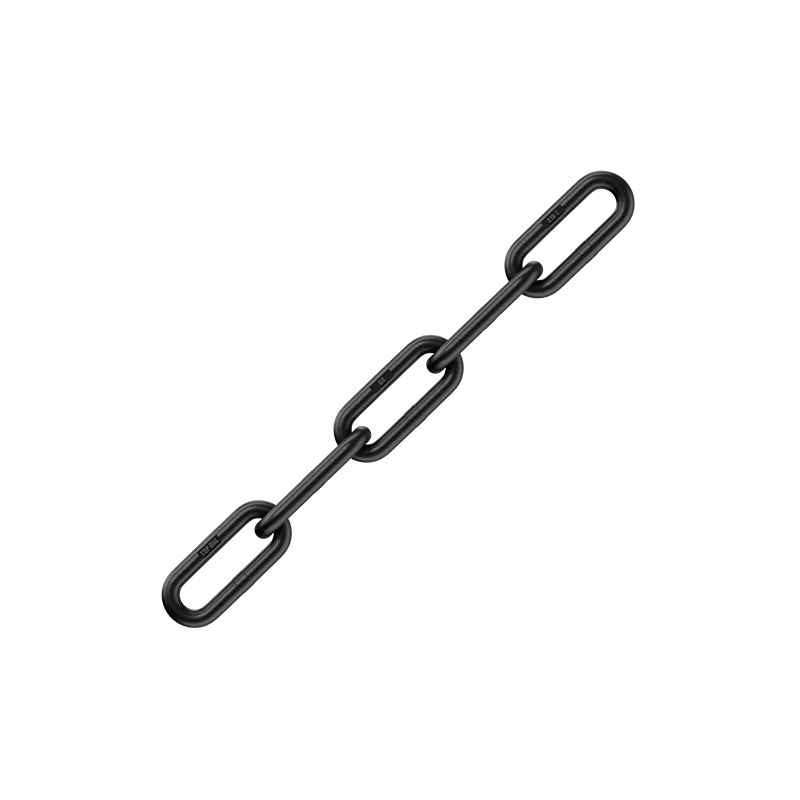
Quarter-inch alloy chain reduces bulk without abandoning traceable Working Load Limits when you pair it with grade-matched hardware. The smaller profile clears guards, pipework, and handrails; the lighter mass lowers fatigue during repeated setups; and the tighter bend radius passes small pad-eyes and trolley plates. You still size by the manufacturer’s WLL table, you still match grade across components, and you still manage angles with the same discipline used on larger slings.
Pack only what the space and task require; you cut setup time and reduce dropped-object risk.
Item (grade-matched) | Example pieces | Purpose in confined areas |
1 4 lifting chain legs | Single-leg with master link; spare chain length | Core lift element; light enough for one rigger to stage |
Shortening devices | Grab/shortening hooks or clutches | Equalize legs without knots or twists |
Compact hooks | Self-locking eye hooks; foundry hooks for wide lugs | Positive closure near walkways; wide mouth when needed |
Interface hardware | Small bow shackles; calibrated links | Clean pass-through at pad-eyes and plates |
Edge protection | Corner pads, softeners, mini spreader | Prevent bite on sharp steel; maintain capacity |
Control gear | Tag lines, alignment wedges | Keep load tracked when swing clearance is tight |
Documentation | Tag photos, inspection log sheets | Faster audits; repeatable methods on night shift |
Always carry a laminated WLL table for your exact chain and hardware set.
Cramped rigs magnify small errors. Lock the angle to vertical between 15° and 60° and target the lower half of that band when headroom allows. Use shortening devices to equalize legs; never knot or twist chain to lose length. If an edge cannot be padded away, apply simple, documented rules: with an edge radius RR at least 2× link diameter dd, you keep table capacity; at ~R=dR=d, reduce capacity; at sharp edges, reduce further or add pads/spreaders. Record what you assumed—future reviewers then follow the same math.
Small chain does not excuse sloppy fit. Check each interface before the lift:
Hook throat and bowl: confirm full seating and ~10% clearance at the load point; avoid tip-loading.
Pad-eye and shackle: measure pin size; ensure the chain or hook passes freely without binding
Pocket, wheel, or slot: test pass-through in both directions; remove burrs that raise local stress.
Latch action: verify self-locking hooks snap shut under spring tension; reject sticky or sluggish latches.
Grade and ID: confirm markings on chain, hooks, and master links match the intended grade and trace code.
When any check fails, change the interface—not the assumptions on your WLL table.
Plan: write the heaviest routine load (ignore one-off peaks), sketch lift points, and choose a clean single- or two-leg layout.
Prepare: stage the 1 4 lifting chain kit, pads, and control gear; photograph tags and record component IDs.
Fit: seat hardware, take up slack slowly, and equalize legs with shortening devices; keep the bridle within the angle band.
Prove: trial-lift a few centimeters, check for snag hazards, and verify alignment with tag lines.
Lift & Log: execute the pick smoothly, set down, then wipe, inspect, and complete the log (date, inspector, measurements, remarks).
This simple loop keeps shifts consistent and avoids guesswork during handovers.
Quarter-inch links still need the same discipline as larger sets. Inspect before use and schedule thorough examinations at defined intervals. Retire the assembly when you see: average link diameter loss around 10% versus nominal, five-link pitch growth around 3%, hook throat opening growth >10%, cracks or deep nicks, heat tint, stiff articulation, or any loss of ID on tags or embossing. Keep stainless assemblies rinsed and dry after brine or cleaners; store carbon steel sets clean, dry, and lightly oiled for long idle periods.
Follow the published temperature envelope for your grade: operate at full rating within the normal band, derate in the elevated ranges, and remove the sling from service outside the limits. Keep chain away from acids, alkalis, and pickling; if exposure occurs, rinse with cold water, dry thoroughly, and send the assembly for competent inspection before reuse. Coatings and plating change dimensions—test-fit through tight pockets after any finish work.
Change the plan if the job demands wide spreads near the 60° boundary, severe shock loads, rough edges you cannot pad away, or load paths that force side-pull. Moves with unknown centers of gravity also favor multi-leg bridles and spreaders rather than a compact single-leg. When interface checks reveal persistent binding, step up diameter or redesign the connection instead of gambling clearance.
Decision Point | What You Check | Action in Confined Space |
Load & COG | Heaviest routine load, drawing sketch | Choose single or two-leg layout |
Angle band | 15°–60° to vertical | Target lower half when headroom allows |
WLL table | Grade-specific values | Select first diameter that clears math |
Fit | Hook throat, pad-eye, pass-through | Re-rig the interface if any bind appears |
Edges | Radius vs link diameter | Add pads; document any reduction |
Records | Tag photo, IDs, measurements | Log after each lift for audits |
This table fits on a single page and keeps your team synchronized across shifts.
Use a 1 4 lifting chain to build compact, disciplined micro-rigging kits for tight spaces, then contact TOPONE CHAIN for a traceable configuration that matches your drawing and schedule.