X
Our staff will contact you within 12 hours, You can also contact us through the following ways:
Contact US WhatsApp: +86 18263873187
- Email: [email protected]
- Tel: +86 18263873187
- Web: www.lifting-chain.com
Awkward frames roll, top-heavy skids surprise crews, and two points sometimes fight you. A 3 leg chain sling gives you a third control point so you tame roll and fine-tune balance without the mass and complexity of four legs. This guide shows how to plan geometry, size from a manufacturer’s WLL table, and run a quick proof-lift. You will see simple math that keeps leg tension honest, practical fit checks that kill re-rigs, and a one-page routine you can drop into any lift pack.

Three pick points create a statically determinate support (a triangle), so loads settle quickly and stay stable during take-up. Crews like a 3 leg chain for machinery bases with an off-center motor, tall cabinets with uneven internals, and skids that tilt when you use only two legs. You still keep the center of gravity inside the triangle, you set angles early, and you equalize leg length with rated shorteners instead of twists or knots.
Always open the manufacturer’s Working Load Limit (WLL) table for your exact sling family, diameter, and grade (e.g., G80/G100). Because real structures rarely share tension perfectly across three legs, many rigging programs plan conservatively:
Conservative rule: treat a 3 leg lifting chain as if two legs carry the load.
Per-leg tension (planning): T≈W2⋅cosβT \approx \dfrac{W}{2 \cdot \cos \beta} where WW is load and β\beta is angle to vertical.
Selection step: choose the first chain diameter whose WLL (per the maker’s table) meets or exceeds the factored demand, then confirm component match (master link, connectors, shorteners, hooks) at the same grade.
This method errs on the safe side and mirrors many tables where 3- and 4-leg WLLs equal the 2-leg value for the same angle band. You still follow your product’s table because only that table governs your sling.
Lock the angle to vertical β\beta between 15° and 60°. Keep β\beta in the lower half of that band when headroom allows because leg tension increases as β\beta opens. Sketch the triangle on your lift plan, mark the center of gravity, and place pick points so the COG sits well inside the triangle. During take-up, trim one leg with a shortener to cancel roll, then fine-trim a second leg to level pitch; leave the third leg at baseline to maintain the triangle.
Checkpoint | What You Verify | Pass Criteria | Action if It Fails |
Crane hook & master link | Full bowl seating, latch clearance | Link seats flat; latch clears | Use correct master-link set with sublinks |
Lower hooks | ~10% throat clearance; full bowl seating | Straight pull, no tip-load | Change hook style/size or add shackles |
Pick points | Pad-eye pin size and alignment | Free rotation, no bind | Match shackle pin; align in one plane |
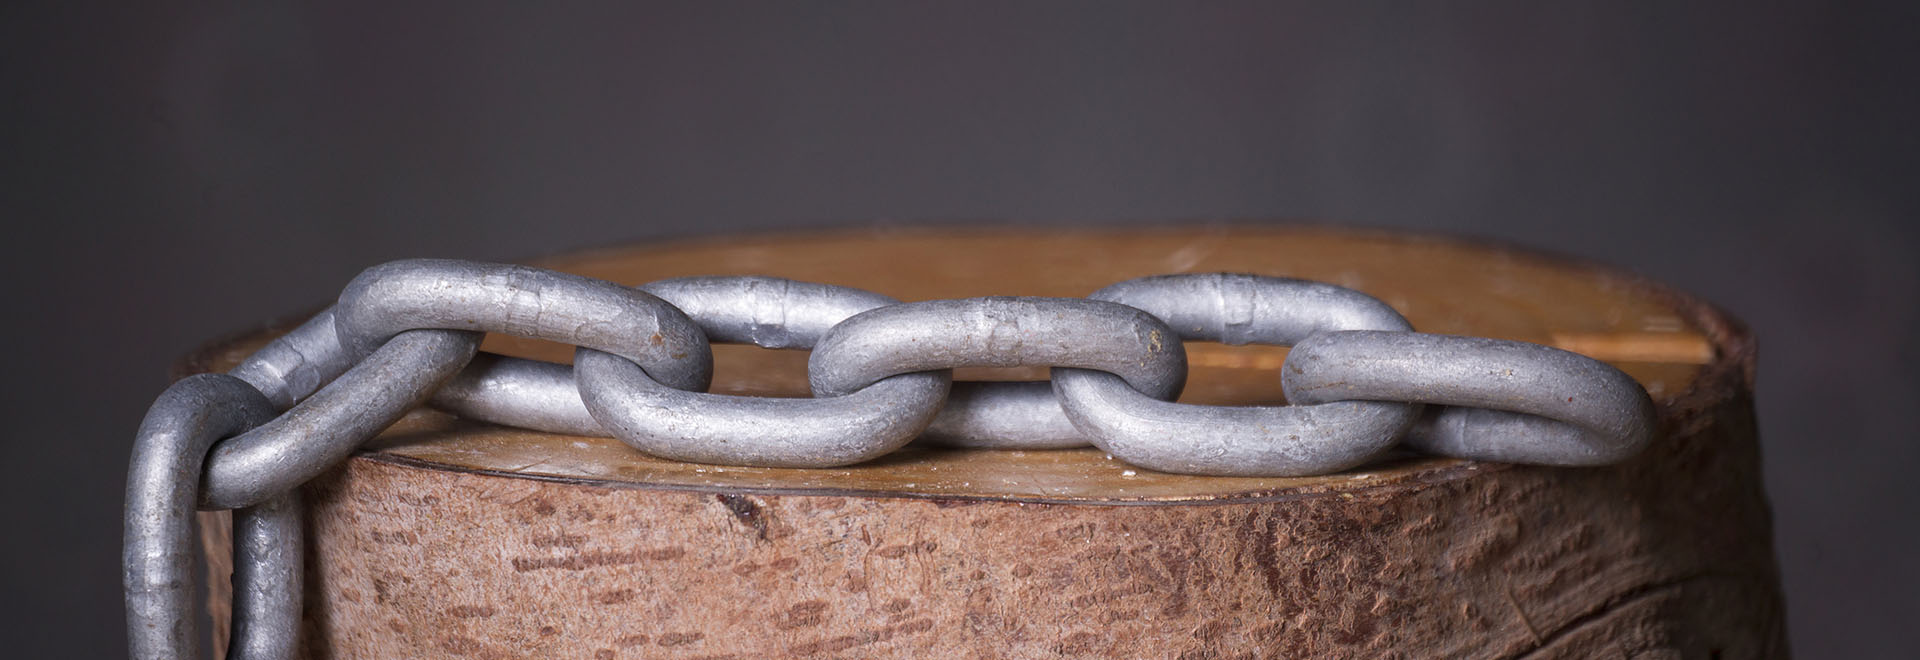
Shorteners | Positive engagement; no twists | Smooth trim under light load | Replace worn parts; never knot chain |
ID & grade | Chain and hardware grade match | Tags legible and recorded | Replace mismatched or illegible parts |
Record measurements and part numbers on the job sheet so audits move fast.
Edges bite link crowns and spike stress, so add pads or a spreader where chain meets corners. When you cannot improve edge radius RR, apply clear reductions and write them on the plan:
R≥2dR \ge 2d (link diameter dd) → keep table value.
R≈dR \approx d → use 0.7× of table value.
Sharp edge → use 0.5× or redesign the interface.
This habit preserves capacity and reduces wear that shortens sling life.
Use your manufacturer’s WLL table for final capacity. This planner keeps geometry honest while you select:
Configuration | Angle to Vertical (β) | Planning Method | Note |
Single-leg vertical | 0° | Table value × 1.0 | Reference case |
3 leg chain sling | 0°–45° | Plan as 2-leg (conservative) | Many tables list 3-leg = 2-leg WLL |
3-leg wide | 45°–60° | Use product table; confirm drop | Tension rises as β opens |
Any choker in set | — | Table value × 0.8 | Reduce 20% |
Master-link assembly with sublinks. Seats in the crane hook bowl and organizes three legs without crowding.
Grab or clutch shorteners on two legs. Trim reach without twists; set the third leg baseline.
Self-locking hooks. Choose near walkways or vibration zones; they close under tension and resist tip-out.
Foundry hooks (where needed). Span wide trunnions; verify throat clearance and bowl seating.
Bow shackles at pad-eyes. Keep the line of pull straight and avoid side-loading; match pin diameter to the drawing.
Match all components to the sling grade and record each trace code.
Run within the maker’s temperature envelope for your grade; apply listed derates at elevated ranges; remove the sling from service outside those limits. Keep chain away from acids, alkalis, and pickling lines. If exposure occurs, rinse with cold water, dry completely, and send the set for a competent inspection. After any coating or galvanizing, test fit through tight throats and pockets because finishes add thickness and may change pitch fit.
Inspect before use and schedule thorough examinations on a fixed cadence. Retire gear when any of these triggers appear (or when your maker sets stricter limits):
Wear: average link diameter reduction ≈10% from nominal.
Stretch: five-link pitch growth ≈3%.
Hooks: throat opening growth >10% over nominal or latches that stick or fail to close.
Any component: cracks, deep nicks, heat tint, stiff articulation, or lost ID.
Clean, dry, and rack slings after work; rinse and dry stainless assemblies after brine or cleaners.
<!--[if !supportLists]-->1. <!--[endif]-->Plan the triangle and mark the COG; pick points contain the COG.
<!--[if !supportLists]-->2. <!--[endif]-->Select the sling from the WLL table using the conservative 2-leg method for planning.
<!--[if !supportLists]-->3. <!--[endif]-->Fit the master link in the crane hook bowl; verify latch clearance and leg hardware.
<!--[if !supportLists]-->4. <!--[endif]-->Protect edges; record any radius-based reductions.
<!--[if !supportLists]-->5. <!--[endif]-->Equalize with shorteners: cancel roll on one leg, level pitch on a second, hold the third as baseline.
<!--[if !supportLists]-->6. <!--[endif]-->Prove with a low trial lift; watch leg behavior; land and adjust; re-prove.
<!--[if !supportLists]-->7. <!--[endif]-->Lift smoothly with signals and tag-line control; land on prepared cribbing.
<!--[if !supportLists]-->8. <!--[endif]-->Log tags, dimensions, measurements, and remarks for traceable compliance.
Use a 3 leg chain sling to stabilize awkward loads, plan conservatively with simple math, and prove the setup before you commit—then contact TOPONE CHAIN for a traceable three-leg configuration that matches your drawing and schedule.