Our staff will contact you within 12 hours, You can also contact us through the following ways:
Contact US WhatsApp: +86 18263873187
- Email: [email protected]
- Tel: +86 18263873187
- Web: www.lifting-chain.com
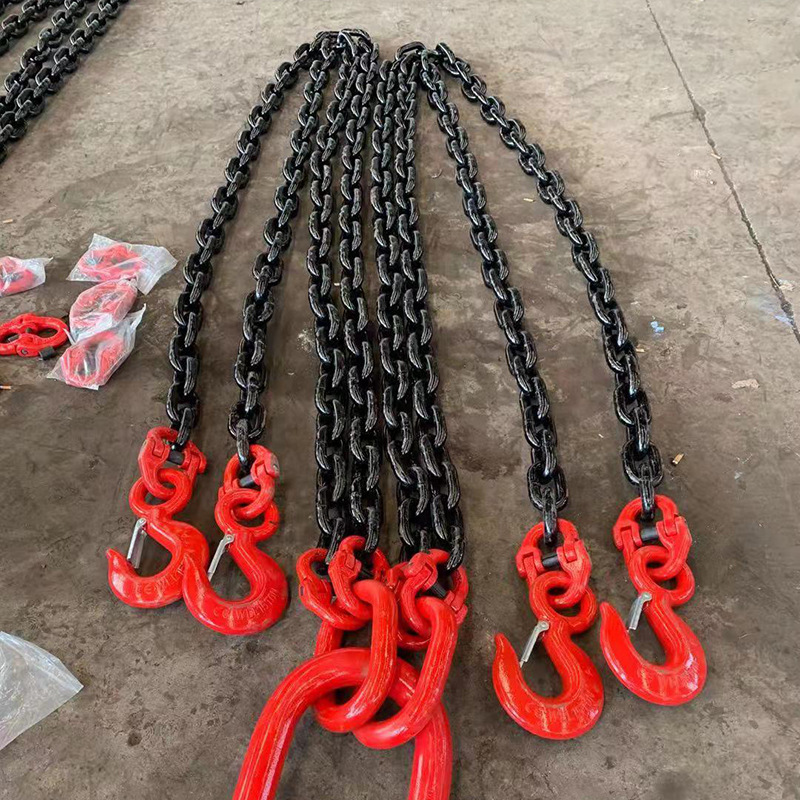
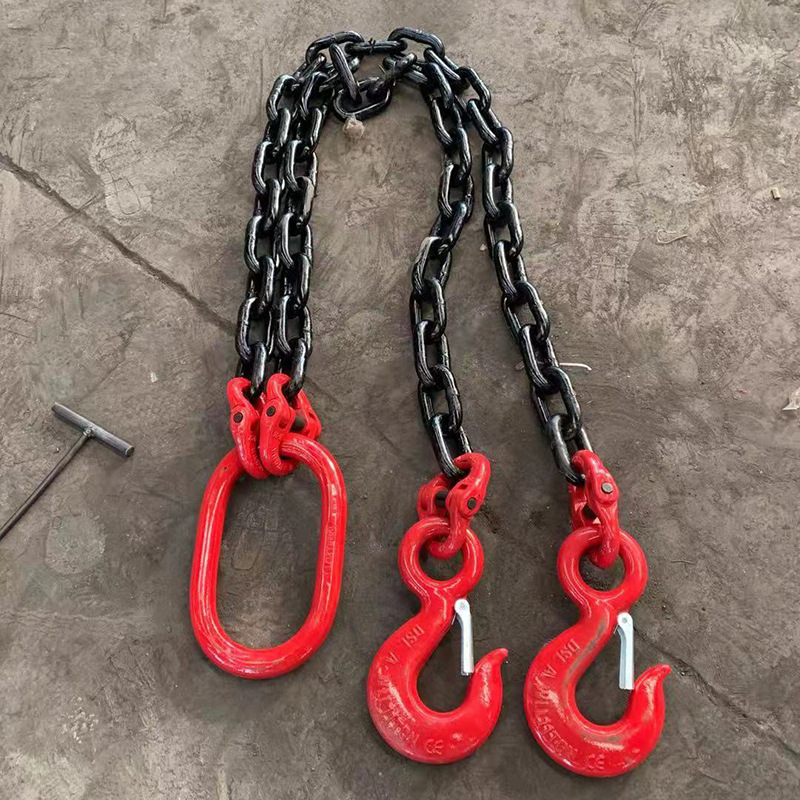
Small hooks, tight headroom, and mixed pad-eyes challenge crews every day, so you win with a compact system that still carries real capacity. A 2 leg chain sling built with 3 8 lifting chain (3/8 in.) checks those boxes because it trims weight, threads crowded hardware, and balances two pick points with simple adjustments. This guide takes a fit-first approach: measure the interfaces, size the sling from the manufacturer’s WLL table, control angles, protect edges, and run a short proof-lift. You get predictable handling, quick audits, and fewer re-rigs—because the method stays the same from shop floor to site.
Two legs stabilize beams, skids, and framed equipment while you keep setup fast. You equalize length with grab or clutch shorteners, you keep the center of gravity between the pick points, and you steer swing with a tag line. Crews like this layout because it reduces rotation compared with single-leg picks yet avoids the complexity and mass of four legs. When you standardize on 3 8 chain sling components, you also lighten handling loads and speed staging.


https://www.lifting-chain.com/en818-4-grade-80-chain-lifting-slings.html
Click on the blue text to view more product information↑
A 3 8 lifting chain profile slips into small crane hooks and compact pad-eyes, so you clear tight throats and narrow pockets more often. The lighter mass reduces fatigue during high-cycle days, and the tighter bend radius improves routing around fixtures. Capacity still depends on grade, diameter, reach, and component match, so you always read the manufacturer’s Working Load Limit (WLL) table for your exact product. You never up-rate because of coating or appearance; you only trust stamped tags and published tables.
Define the lift. Write the heaviest routine load (ignore one-off peaks) and sketch pick points with the center of gravity.
Measure the crane hook. Check bowl width and throat opening so the master link seats fully with latch clearance.
Measure the load points. Gauge pad-eye pin sizes or shackle choices; confirm the planned chain sling hook passes cleanly.
Pick grade and diameter from the table. Multiply the load by the angle factor (below), then select the first size whose WLL exceeds the result.
Match components. Keep chain, master link, connectors, shorteners, and hooks in the same grade family; record part numbers and trace codes.
Pad edges and plan a proof-lift. Add corner protection wherever links touch edges, then schedule a low trial pick to confirm sharing.
Angles change leg tension, so you plan them and you log them.
Configuration | Angle to Vertical (β) | Planning Factor (×) | Notes |
Single-leg vertical | 0° | 1.0 | Reference case |
Two-leg bridle | 0°–45° | 1.4 | Default band for stability |
Two-leg wide | 45°–60° | see table | Capacity drops—verify on your WLL chart |
Choker on one/both | — | 0.8 | Reduce 20%; confirm with table |
Always verify factors and final WLL on the manufacturer’s table for your exact sling.
Master link for small hooks. Choose a ring that seats fully in the crane hook bowl and accepts two leg connectors without crowding; confirm latch clearance.
Self-locking hooks. Use above walkways or vibration zones; they close under tension and resist unintentional unhooking.
Foundry hooks. Use for wide trunnions or bars; verify throat clearance and bowl seating.
Grab/clutch shorteners. Equalize leg length without knots or twists; set reach with the device, not by wrapping chain.
Checkpoint | What You Verify | Pass Criteria | Action if It Fails |
Crane hook seating | Master link fully seated; latch clears | Full bowl contact; no tip seating | Select wider/longer master link or sublink set |
Lower hook fit | ~10% throat clearance at pad-eye/shackle | Full bowl seating; straight pull | Change hook style/size or add proper shackle |
Grade match | Chain, links, hooks identical grade | All tags readable | Replace mismatched parts before staging |
Edge contact | Pads at corners; radius checked | Rule applied and recorded | Add pads/spreader or reduce allowed load |
Leg equality | Adjusters set; no twists | Even share at trial lift | Re-trim with shorteners; re-prove |
Run within the maker’s temperature envelope for your chosen grade; apply any listed derates at elevated ranges; remove the assembly from service outside those limits. Keep chain away from acids, alkalis, and pickling lines; if exposure occurs, rinse with cold water, dry completely, and send the sling for a competent inspection. Coatings and galvanizing add thickness, so you test fit through tight throats and pockets after any finish work—especially with 3 8 lifting chain where clearances run tight.
You protect people and uptime when you measure and log:
Wear: retire when average link diameter drops about 10% from nominal.
Stretch: retire when five-link pitch grows about 3%.
Hooks: retire when throat opening grows >10% over nominal or latches stick.
Any component: retire for cracks, deep nicks, heat tint, stiff articulation, or lost ID.
Clean, dry, and rack slings after use; rinse and dry stainless assemblies after brine or cleaners.
Stay with a 3 8 chain sling when you need small-hook compatibility, compact routing, and high cycle handling with minimal fatigue. Step up diameter if factored loads crowd the WLL line or if throats stay too tight even after you change hook styles. Hold diameter and move to a higher grade when headroom disappears but you still need margin. You update the plan so the next shift rigs the same way.
Use this fit-first method to select and run a 2 leg chain sling with 3 8 lifting chain so your picks stay predictable, traceable, and fast—then contact TOPONE CHAIN for a configuration that matches your drawings and schedule.