Our staff will contact you within 12 hours, You can also contact us through the following ways:
Contact US WhatsApp: +86 18263873187
- Email: [email protected]
- Tel: +86 18263873187
- Web: www.lifting-chain.com
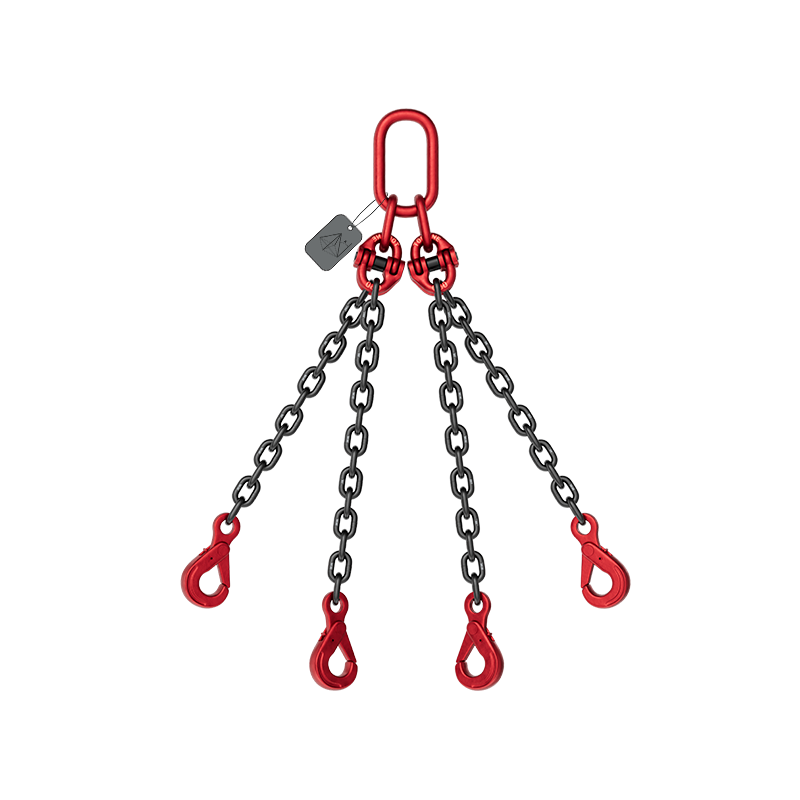
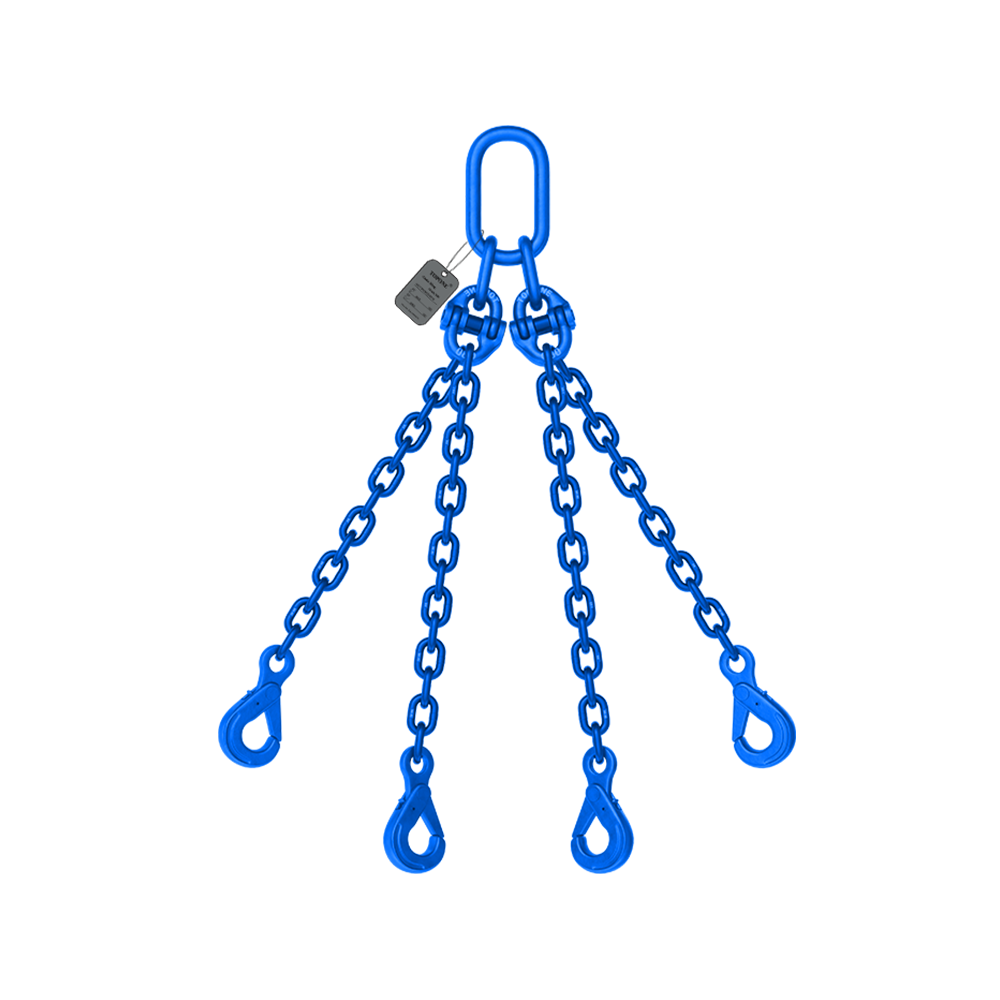
Tall frames roll, offset centers of gravity surprise crews, and headroom often runs tight. A 4 leg lifting chain sling solves these problems because you split control across four points and trim each leg to balance the load. This guide shows a field-ready approach: map geometry, size from the manufacturer’s WLL table, equalize with shorteners, guard edges, and record every decision. You keep lifts stable, repeatable, and traceable while teams move steel with fewer re-rigs and less downtime.
Four legs create two working pairs that counter roll and pitch together. You set rough length on each pair, add fine trim on the diagonals, and watch the frame settle level during a test pick. You run grade-matched components—chain, master link, connectors, shorteners, and hooks—so the assembly behaves as one system. You always read capacity from your sling’s manufacturer WLL table for the exact grade and size you plan to use.
Sketch the load. Mark the center of gravity. Place pick points at equal elevations when possible. Lock the angle to vertical (β) between 15° and 60°; aim for the lower half of that band when headroom allows because leg tension climbs as β opens. Confirm hook throat clearance at each attachment and select hook styles that fit the interface: self-locking hooks near walkways, foundry hooks for wide trunnions, grab or clutch shorteners for fast equalization.
Write the heaviest routine load and ignore one-off peaks. Multiply by the angle/mode factor, open the WLL chart for your sling family, then select the first diameter that exceeds the result. Record grade, diameter, reach, and trace code on the lift sheet. If headroom feels tight, consider a higher grade at the same diameter; if the hook bowl feels crowded, change the hook style or add a proper sub-assembly.
Angle & Mode Factors (verify with your table)
Configuration | Angle to Vertical (β) | Planning Factor (×) | Notes |
Single-leg vertical | 0° | 1.0 | Reference |
Two-leg, balanced | 0°–45° | 1.4 | Baseline |
Four-leg, balanced | 0°–45° | 2.1 | Equalize pairs |
Four-leg, wide | 45°–60° | 1.5–1.6 | Check your chart |
Choker in set | — | 0.8 | Reduce 20% |
Start with pairs. Shorten the pair under the light side to kill roll. Add a small trim on the opposite pair to level pitch. Keep legs untwisted and keep hardware aligned. Back-hook any idle fitting to the master link so nothing snags during travel. Lift a few centimeters, watch leg tension settle, land, adjust, and prove again. This loop turns guesswork into a controlled routine that crews repeat on every shift.
Run these checks before the lift so you avoid mid-air surprises:
Hook & bowl: seat fully and keep about 10% throat clearance at the load point; avoid tip-loading.
Pad-eye & shackle: gauge the pin, confirm free passage without binding.
Pockets, wheels, slots (if used): test both directions and remove burrs that raise stress.
Latch action: verify self-locking hooks close and hold under tension; service sticky latches.
ID & trace: photograph tags and note serials on the lift sheet.
Edges bite link crowns and concentrate stress. Add corner pads or a spreader wherever chain meets corners. When you cannot increase radius RR, apply simple, documented rules:
R ≥ 2d (link diameter dd) → keep the table value.
R ≈ d → multiply capacity by 0.7.
Sharp edge → multiply by 0.5 or change the interface.
Write the assumption on the drawing; supervisors can then verify the math in seconds.
Follow the manufacturer’s temperature guidance for your grade, and apply any listed derates for elevated ranges. Keep slings away from acids, alkalis, and pickling lines. If contamination occurs, rinse with cold water, dry completely, and send the set for a competent inspection before reuse. Coatings change fit—after any finish work, test through tight throats or pockets before site use.
Step | What You Do | Why It Helps |
1. Plan | Sketch load, mark COG, choose pick points | Locks geometry early |
2. Size | Apply factor; pick the first WLL that clears | Removes guesswork |
3. Fit | Check throats, pins, pockets, latches | Kills re-rig delays |
4. Protect | Add pads/spreader; record edge rules | Preserves capacity |
5. Equalize | Set pairs, trim diagonals, keep β in band | Shares tension cleanly |
6. Prove | Trial-lift a few cm, adjust, re-prove | Confirms real behavior |
7. Record | Log tags, grade, size, reach, notes | Speeds audits and repeats |
Guessing capacity. Open the WLL table and size with math.
Running wide angles. If β pushes 60°, add a spreader or change pick points.
Skipping edge protection. Pads cost minutes; link damage costs projects.
Mixing grades. Keep chain, connectors, and hooks in the same grade family.
Ignoring latch issues. Replace sticky self-locking hooks before the lift, not after.
Forcing side-pull. Realign pick points or change rigging; straight pulls keep hardware honest.
Inspect before use and schedule thorough exams on a fixed cadence. Retire the sling when measurements hit limits the maker specifies, such as average link diameter loss near 10%, five-link pitch growth near 3%, or hook throat growth >10% over nominal. Reject cracks, deep nicks, heat tint, or stiff articulation anywhere in the set. Store slings clean and dry on racks; rinse and dry stainless assemblies after brine or cleaners.
Choose a 4 leg lifting chain sling when tall frames, cages, or offset skids need four-point control and quick trim. Move to a spreader beam and two legs when hook height runs out or when you must cut per-leg tension at wide spans. Step up grade (same diameter) when headroom and weight both matter. Redesign interfaces rather than force side-pull or tip-loading.
Use this playbook to plan, size, equalize, and document a 4 leg lifting chain sling so every lift stays stable and traceable—then contact TOPONE CHAIN for a configuration that matches your drawings and schedule.

